
Boss Attack Patterns: A Curator's Notebook
This page reviews Cuphead's boss fights as numbered exhibits, each with attack breakdowns and player guidance, styled as an archival animation production notebook.
Reading Attack Patterns: General Principles
Pattern Recognition
Bosses telegraph their attacks through visual and audio cues. Learning to recognize these cues is the first step to survival. Cuphead bosses often have distinct wind-up animations before attacks, and audio cues, such as specific sounds or music changes, can signal incoming attacks. Patterns repeat in cycles, allowing players to anticipate and react rather than relying on reflex alone.
Spatial Awareness
Positioning is crucial. Most boss arenas are small, so managing your character's movement is as important as shooting. Staying near the edges can limit escape options, while some attacks require precise jumps or dashes. Using the entire arena strategically can create safe zones, especially when you learn where a boss cannot reach during a particular phase.
Weapon and Charm Synergy
Choosing the right weapon and charm for each boss can significantly ease the fight. Experimentation is key. Different weapons have different damage outputs and spread patterns, while charms provide passive bonuses like extra health or invincibility frames. Some bosses are more vulnerable to certain weapon types. For a complete guide to loadouts, see our Weapons and Charms page.
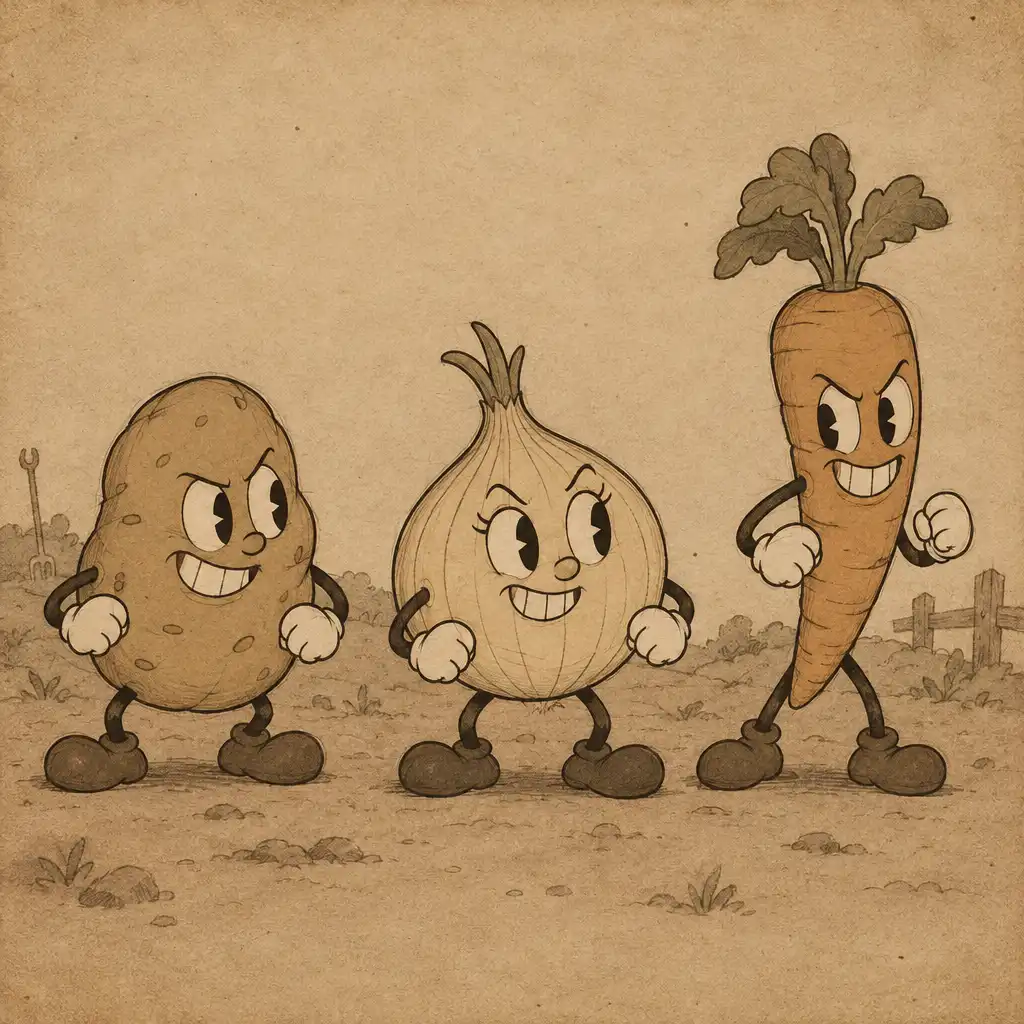
The Root Pack
Phase 1: Sal Spudder
Sal Spudder attacks by spitting dirt clods that arc across the screen. He also occasionally slams the ground, causing shockwaves. Dirt clods can be destroyed by shooting them, while shockwaves require jumping over them. Sal remains stationary on the left side of the screen, making this phase a gentle introduction to the fight.
Beginner-friendly: focus on dodging first.
Phase 2: Ollie Bulb
Ollie Bulb is a large onion that cries tears, which fall as damaging projectiles. He also summons smaller onion minions. Tears fall in predictable patterns, and minions can be shot down quickly. Ollie Bulb is vulnerable when he stops crying, so use those pauses to deal damage.
Watch for the tear pattern shift.
Phase 3: Chauncey Chantenay
Chauncey Chantenay is a large carrot that burrows underground and emerges to attack. He also summons smaller carrots. Chauncey telegraphs his emergence with dirt particles, and small carrots can be parried for extra cards. The final phase requires aggressive dodging, but the patterns remain readable.
Parry the small carrots for super meter.
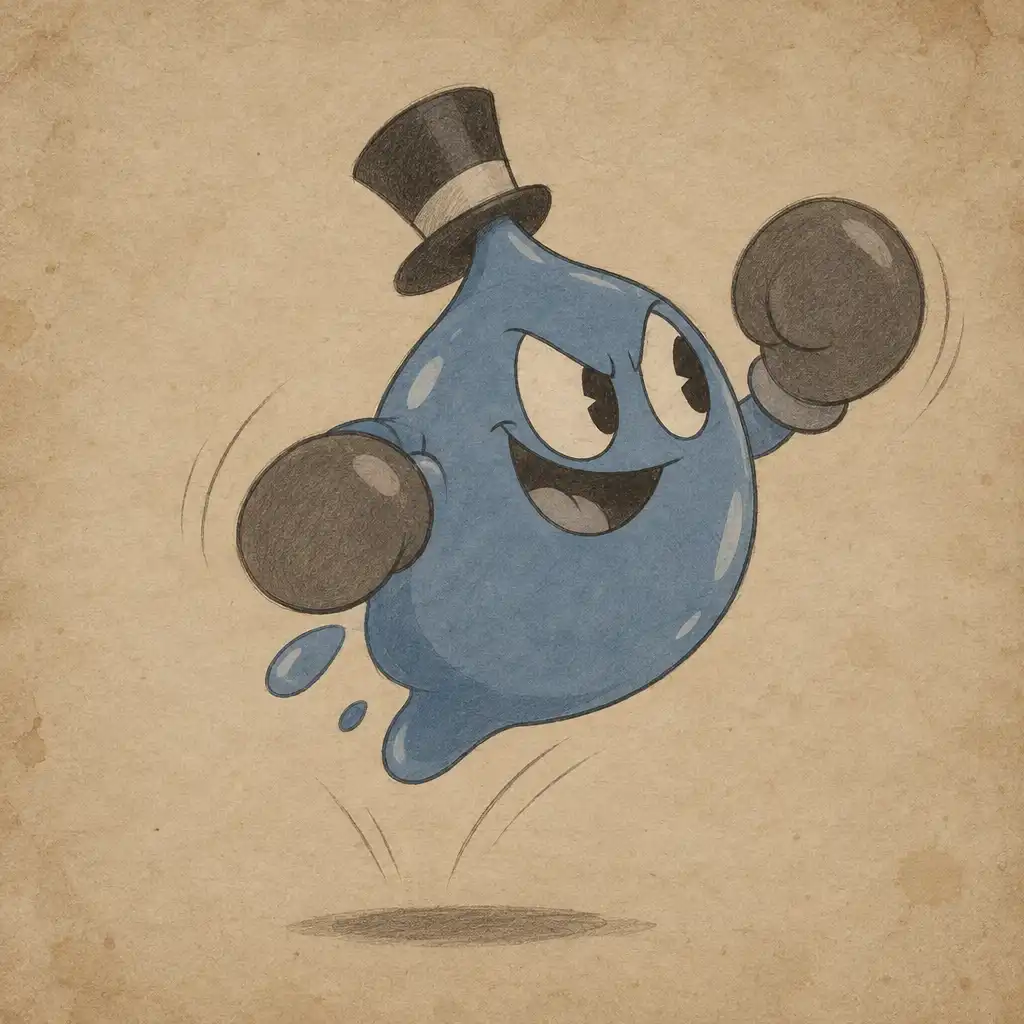
Goopy Le Grande
Phase 1: Bouncing Slime
Goopy Le Grande bounces around the arena, leaving damaging slime trails. He occasionally stops to punch. Slime trails persist for a short time, and punches have a short range but are fast. Staying mobile is key to avoiding damage in this opening phase.
Slime trails are more dangerous than the boss itself.
Phase 2: Giant Form
Goopy grows larger and bounces higher, making his slime trails cover more area. He also slams the ground. Ground slams create shockwaves, and higher bounces allow more time to reposition. The larger hitbox makes him easier to hit but harder to avoid, so keep your distance.
Use the corners to bait his bounces.
Phase 3: Tombstone Form
Goopy transforms into a tombstone that slides across the ground and occasionally rises to slam down. The tombstone slides predictably from side to side, and rising slams have a wind-up animation. This phase is slower but hits harder, so patience and careful spacing win the exchange.
Patience wins this phase.
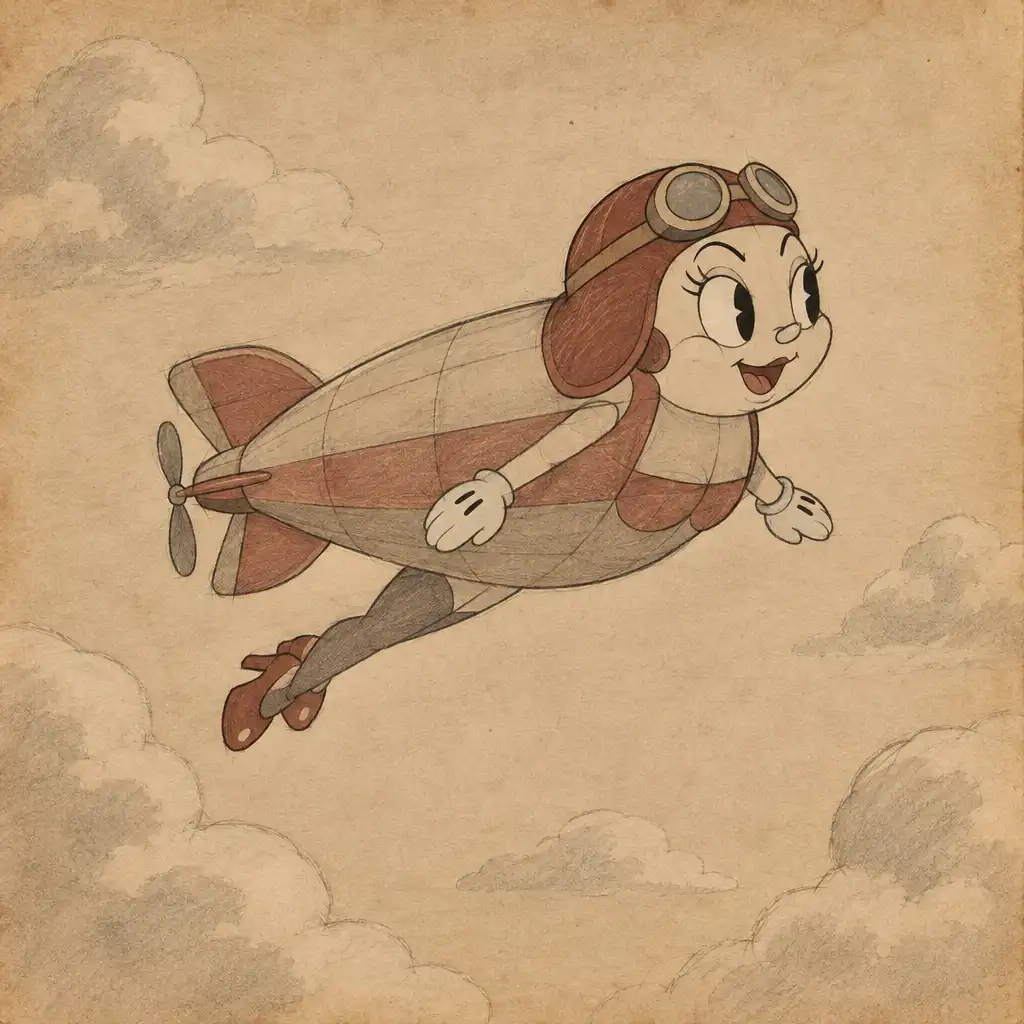
Hilda Berg
Phase 1: Zeppelin Form
Hilda Berg flies in a zeppelin, dropping bombs and shooting projectiles. She also summons small UFOs. Bombs fall in straight lines, projectiles can be shot down, and UFOs fly in predictable patterns. Staying grounded helps you avoid the worst of the aerial pressure.
Stay grounded to avoid aerial projectiles.
Phase 2: Taurus Form
Hilda transforms into a bull-like creature that charges across the screen. She also breathes fire. Charges are telegraphed by a snorting animation, and fire breath covers a wide area. Jumping over the charge is effective, but you must time it carefully.
The charge is the most dangerous attack.
Phase 3: Gemini Form
Hilda splits into two smaller versions that attack independently. They shoot projectiles and occasionally merge. The two forms can be damaged separately, and merging creates a larger, more powerful attack. Focusing on one form at a time is safer than splitting your attention.
Divide and conquer.
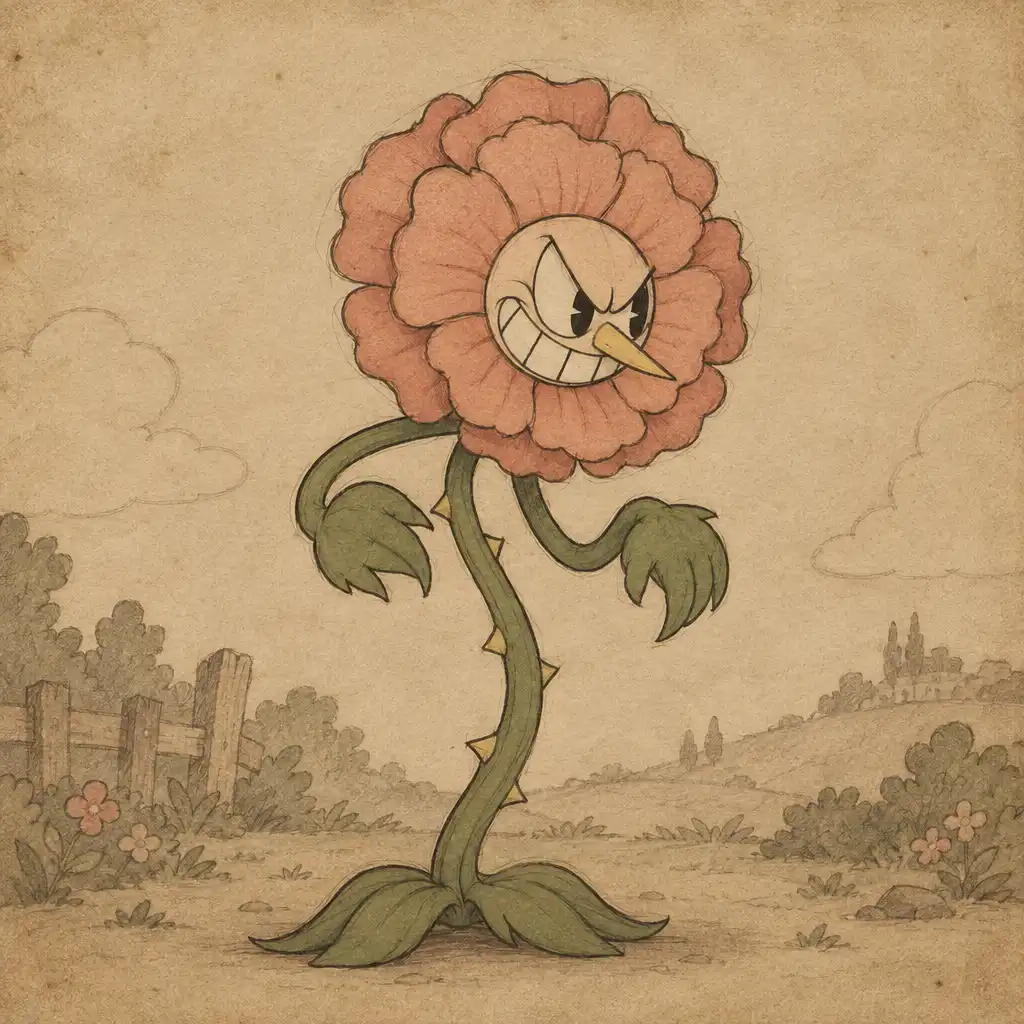
Cagney Carnation
Phase 1: Seed Spit
Cagney Carnation spits seeds that bounce around the arena. He also swipes with his leaves. Seeds bounce in arcs and can be shot, while leaf swipes have a wide range. Staying at mid-range helps you avoid both attacks without giving up damage opportunities.
The seeds are the primary threat.
Phase 2: Root Attack
Cagney extends roots from the ground that track the player. He also summons smaller flowers. Roots emerge from predictable spots, and smaller flowers shoot projectiles. Destroying the smaller flowers reduces pressure and gives you more room to move.
Keep moving to avoid roots.
Phase 3: Enraged Form
When low on health, Cagney becomes enraged, attacking faster and with more projectiles. Attack frequency increases, and projectile patterns become denser. The enraged form is still vulnerable to the same strategies, so stay calm; the patterns are the same, just faster.
Stay calm; the patterns are the same, just faster.
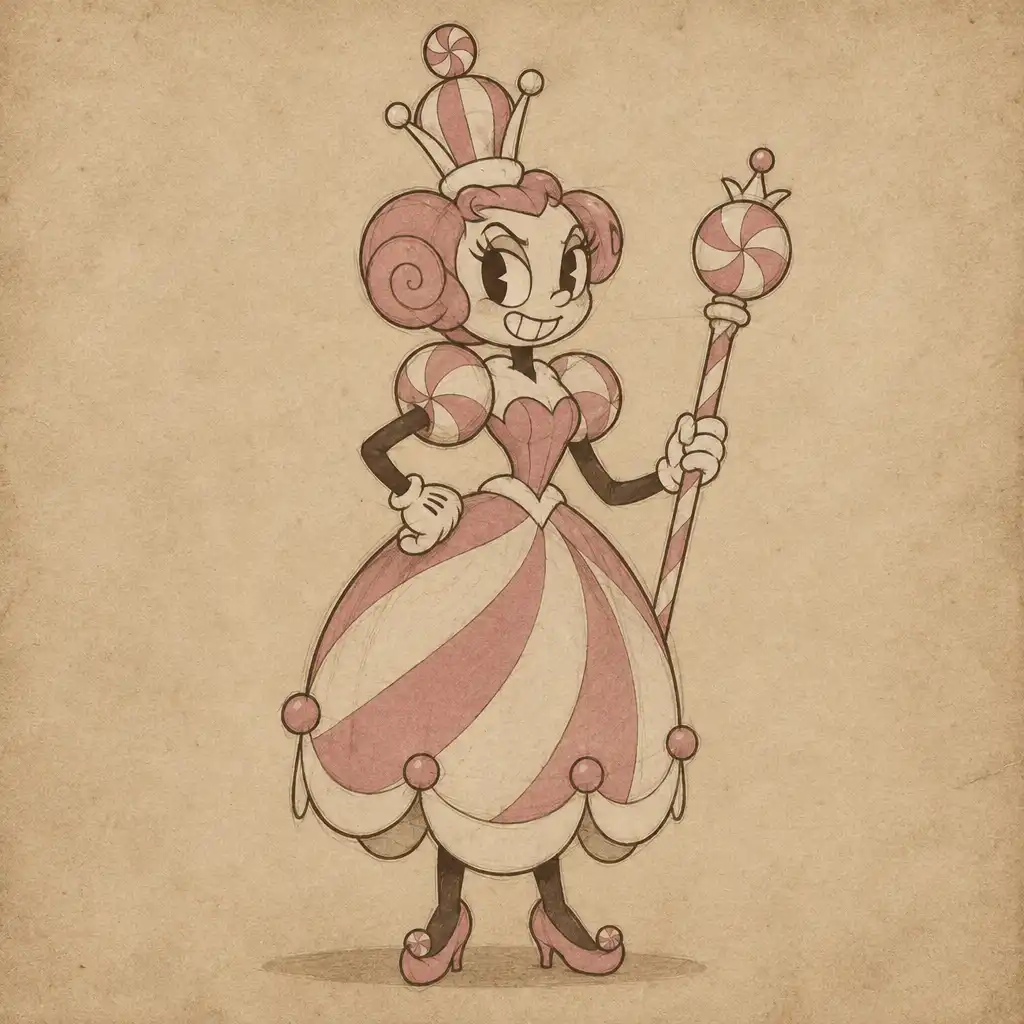
Baroness Von Bon Bon
Phase 1: Minion Summons
Baroness Von Bon Bon summons various candy minions that attack in different ways. She remains in the background. Minions include a gumball machine, a jawbreaker, and a waffle, each with a distinct attack pattern. Defeating a minion damages the Baroness, so prioritise the most dangerous one first.
Prioritise the most dangerous minion first.
Phase 2: Direct Attacks
After enough minions are defeated, the Baroness attacks directly by throwing candy and charging. Candy projectiles can be shot down, and charges are telegraphed by a wind-up. The Baroness is vulnerable after a charge, so save your super for this phase.
Save your super for this phase.
Phase 3: Final Form
In her final form, the Baroness becomes a giant candy castle that shoots projectiles and slams the ground. Projectile patterns are dense but predictable, and ground slams create shockwaves. Staying near the edges can help avoid slams, but this form requires patience and precise dodging.
This form requires patience and precise dodging.
King Dice
The Dice Roll
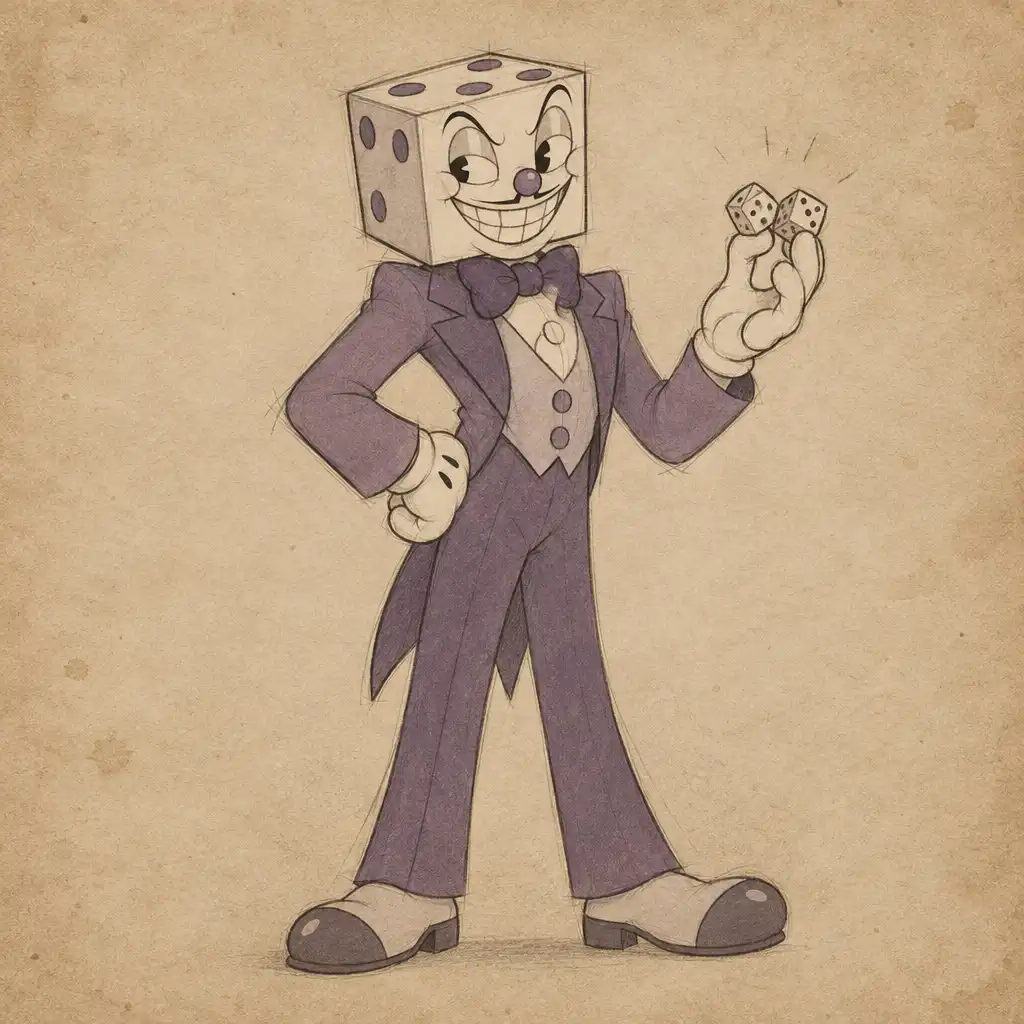
Before the fight, the player rolls a die to determine which mini-boss they face. The roll can be influenced by parrying. The die shows numbers 1-3, and parrying the die at the right time can control the result. Each number corresponds to a different mini-boss, so learning the timing gives you agency.
Parry the die to choose your fight.
Mini-Bosses
The player faces a series of mini-bosses, each with unique attack patterns. Defeating them advances the fight. Mini-bosses include a cigar, a rabbit, and a monkey, each with a simple pattern. You can choose which mini-bosses to face via the dice roll, so learn each pattern to minimise damage.
Learn each mini-boss pattern to minimise damage.
Final Phase: King Dice
After the mini-bosses, King Dice attacks directly with card projectiles and a dice slam. Card projectiles fan out in patterns, and the dice slam creates a shockwave. King Dice is vulnerable after the slam, so save your health for the final phase.
Save your health for the final phase.
Difficulty Timeline
A suggested progression through the boss fights, based on community consensus. The order is not mandatory, but it reflects the game's challenge curve.
-
Entry
The Root Pack
Easy. A gentle introduction to pattern reading.
-
Early
Goopy Le Grande
Easy-Moderate. Bouncing patterns teach spacing.
-
Mid
Hilda Berg
Moderate. Aerial attacks demand vertical awareness.
-
Mid
Cagney Carnation
Moderate. Projectile density increases.
-
Late
Baroness Von Bon Bon
Hard. Minion management and final form pressure.
-
Final
King Dice
Very Hard. A gauntlet of mini-bosses and a demanding final phase.
Conclusion and Search Action
Cuphead's boss fights are a masterclass in pattern design. With patience and practice, each fight becomes a rewarding challenge. The game rewards observation and precision, and each boss has a unique personality and attack style. The difficulty curve is steep but fair.
Opens Google Play search results in a new tab. Results may vary by region and device compatibility. This site does not guarantee an official Android release.